Getting started
There are a few steps to complete in order to get your events online and start taking bookings. All the configuration is done through the BetterBook Portal. By signing up to a BetterBook account you automatically get access to the BetterBook Portal.
Quick Start
For a quick, minimal configuration start you need to set up the following though the BetterBook Portal
- Set up Event Types - every event belongs to a configured Event Type, allowing multiple events of the same type to be configured.
- Set up Payment Providers - this is to enable taking online payments for your bookings.
- Create Events - Schedule events using a calendar view.
All of these options are available from the Home screen once you log into the BetterBook Portal.

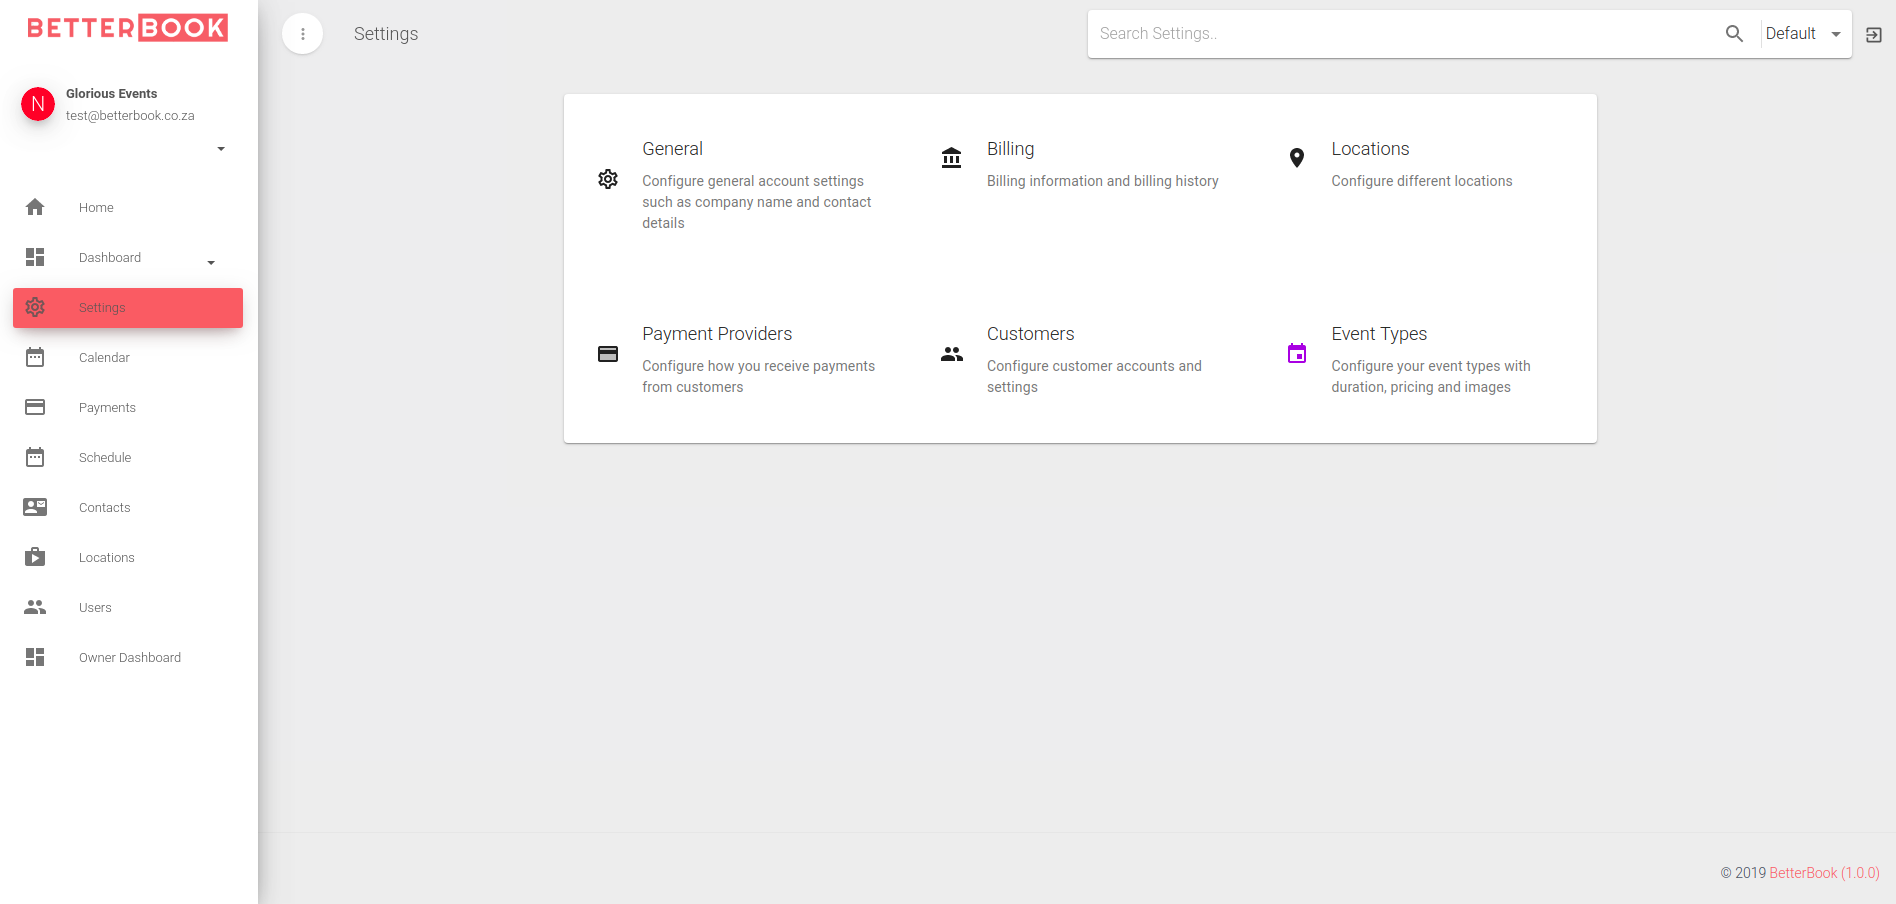
Settings
You can access all the available settings categories from the Settings page.
Location Management
BetterBook allows bookings to be made at multiple Locations, allowing business with multiple locations/branches/franchises to take bookings from all locations while managing separate calendars.
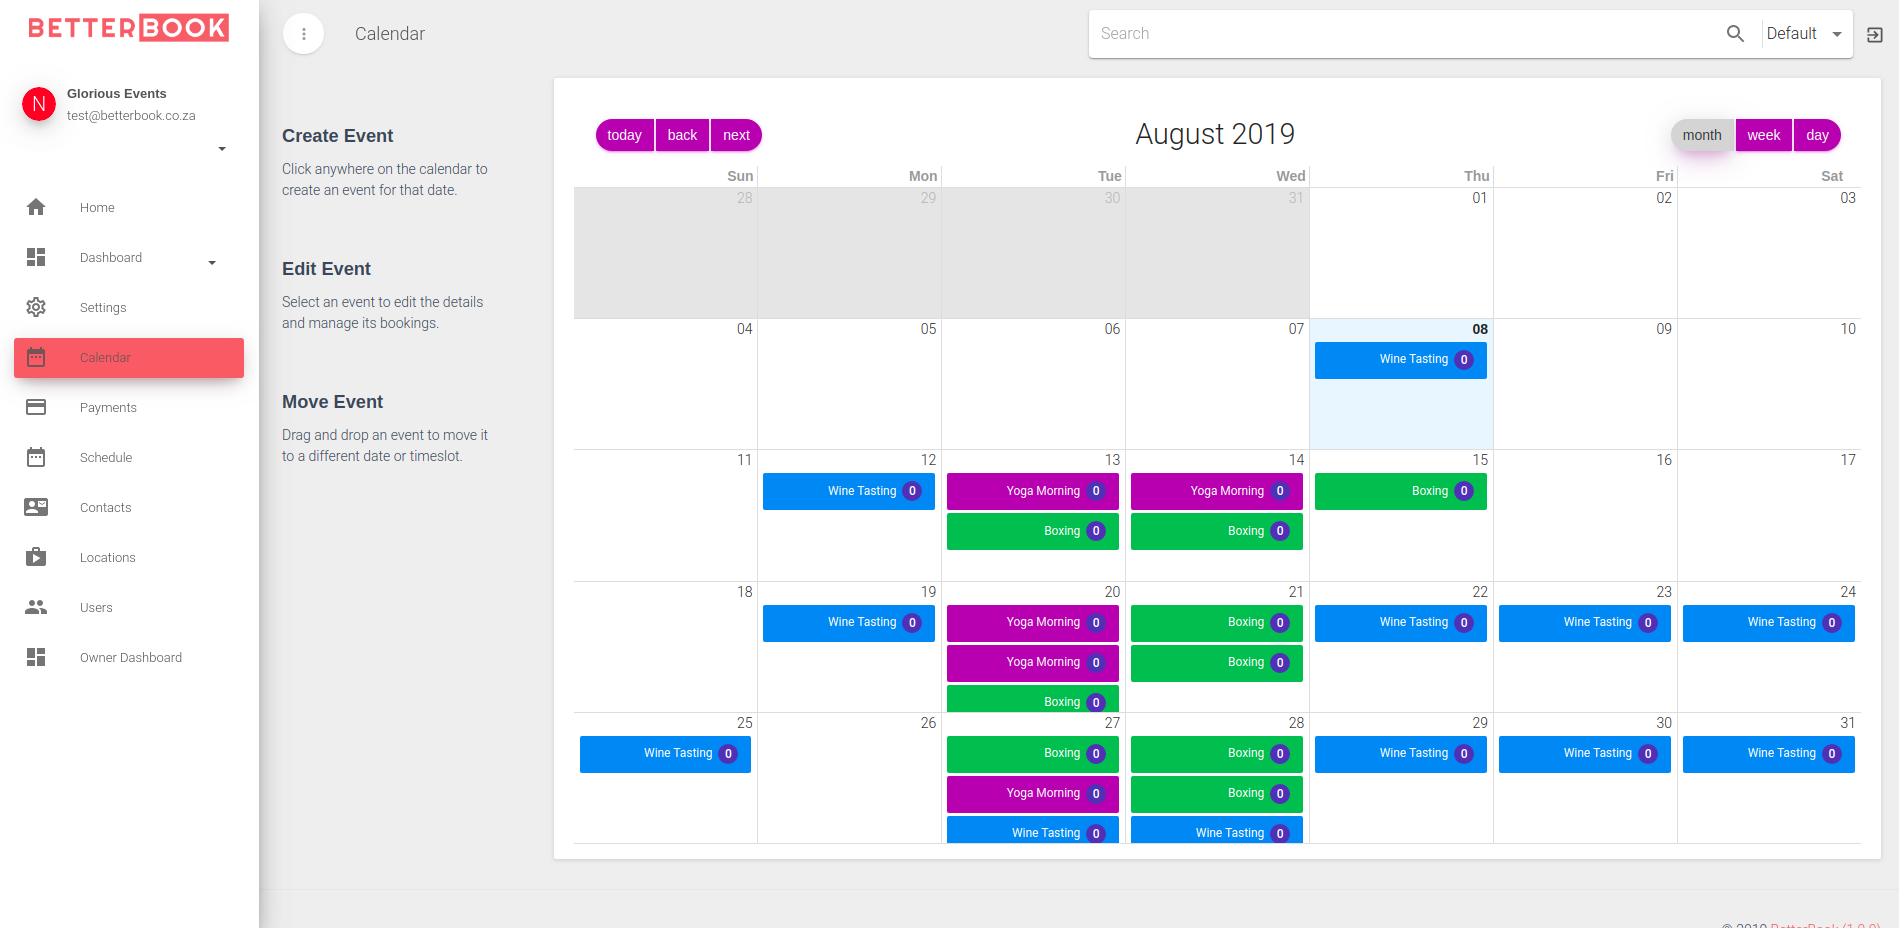
Calendar View
The calendar view is where you set up your once off and recurring events. Every event type can be assigned a different color it easier to manage several event types and classes. There are also three different views - Month view, Week View and Day view where the events can be managed and viewed. There is no limit to the number of events that can be configured.
Viewing Payments
The Payments view lists all the payments that were made during bookings.
Customers
BetterBook captures customer details with every booking that is processed. By default BetterBook requires an email address of the customer making the booking so that the relevant booking notifications can be sent to the customer's email address. This information is available in the BetterBook Portal in the Customers view.